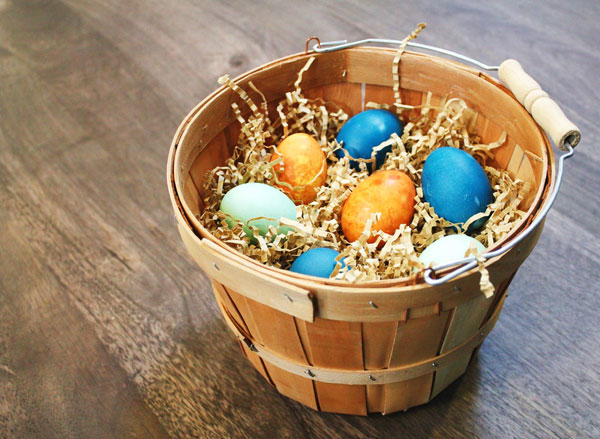
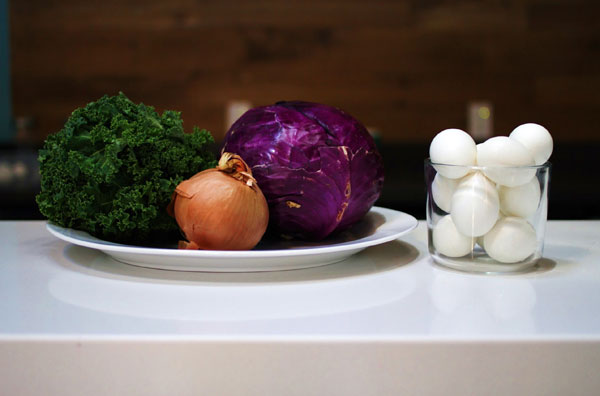
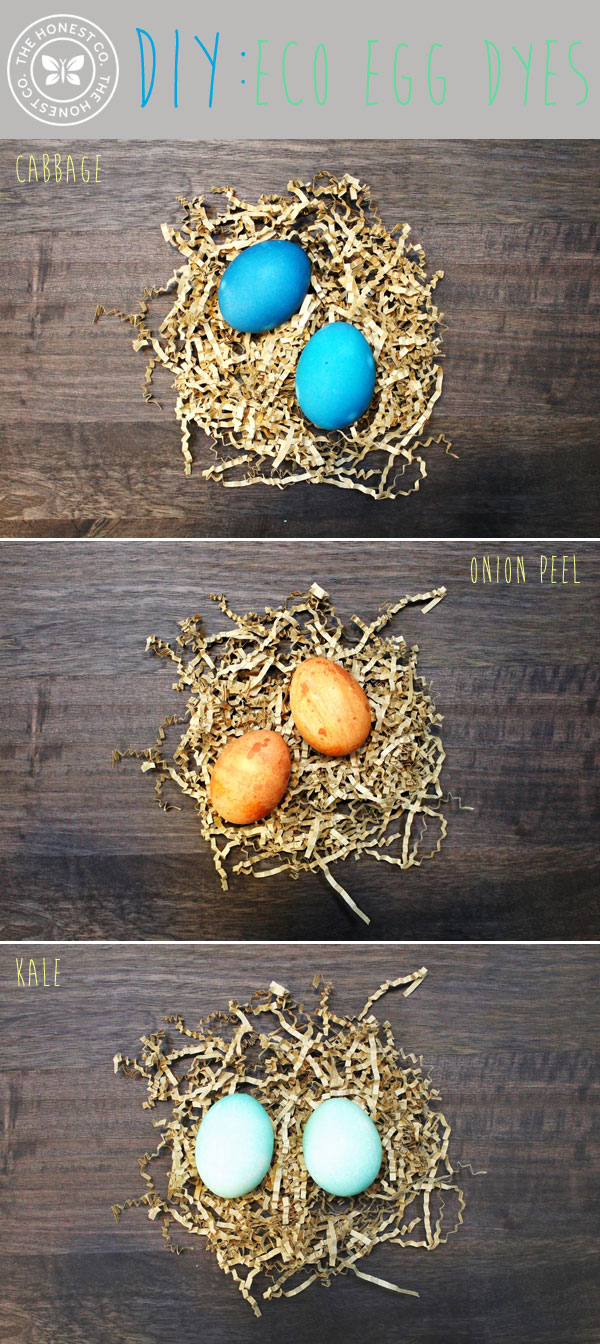
What do leftover cabbage, wilted kale, and unused onion peels have in common? They all make easy, inexpensive, and naturally beautiful dyes for your Easter eggs! Plus, chances are you already have everything you need sitting right in your fridge.
By now you’re probably aware of the concerns that food dyes present and, while your Easter eggs may not pose the biggest threat, the natural option is safer and much more fun. This DIY also is a great learning opportunity for your kiddos to see how many beautiful colors can be derived straight from nature — the perfect kitchen experiment.
Materials
-
Hard boiled eggs
-
Purple cabbage
-
Kale
-
Brown onion skin
-
White vinegar
-
Chopping knife
-
3 medium saucepans
-
3 Quart sized Mason jars
Natural Egg Dyes
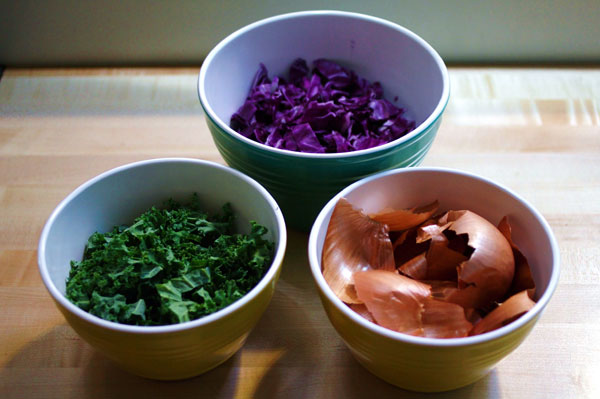
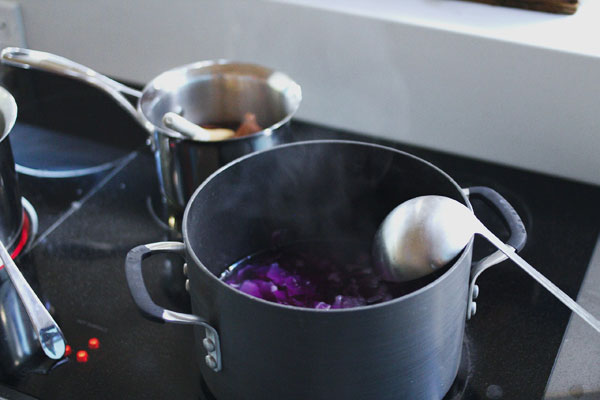
1. Chop your cabbage and kale, and peel away your onion skins. Or use whatever vibrant colored fruits and veggies you have on hand — think beets, blueberries, blackberries, orange peels, spinach.
2. Add each food type to its own pot and fill with enough water to cover. Measure a tablespoon of vinegar into each pot.
3. Place each pot over the stovetop and allow a boil. Bring down to a low heat and allow each to simmer for about 15-30 minutes. (If you don’t have enough pots, you can do this step separately and repeat for each different dye).
4. Heat each dye until it appears to be several shades darker than your desired hue. You can test a sample in a white cup or bowl to see the color’s saturation. Once you are satisfied, remove each mixture from heat and allow to cool.
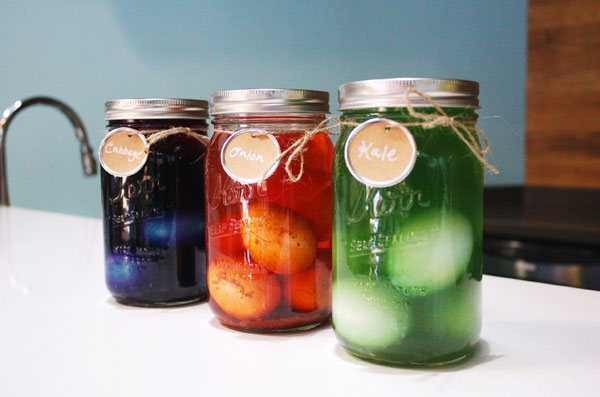
5. Once cooled, strain each mixture into its own Mason jar. If you prefer your eggs to have a natural speckled effect, feel free to allow some of the food pieces to remain in your dye.
Your dye is ready!
Colored Eggs
1. Wipe each of your hard boiled eggs clean to make sure there are no particles on the outside of the shells.
2. One by one, divide your eggs among each jar of dye. Be careful not to crowd your eggs, as you may risk cracking them.
3. Place a lid on each of your jars and store them in the refrigerator to chill overnight. Natural dyes will take longer to set than your risky artificial dyes, so be patient! However, this step can be customized depending on the color saturation you are aiming for — try removing individual eggs as you go to get different shades of each color.
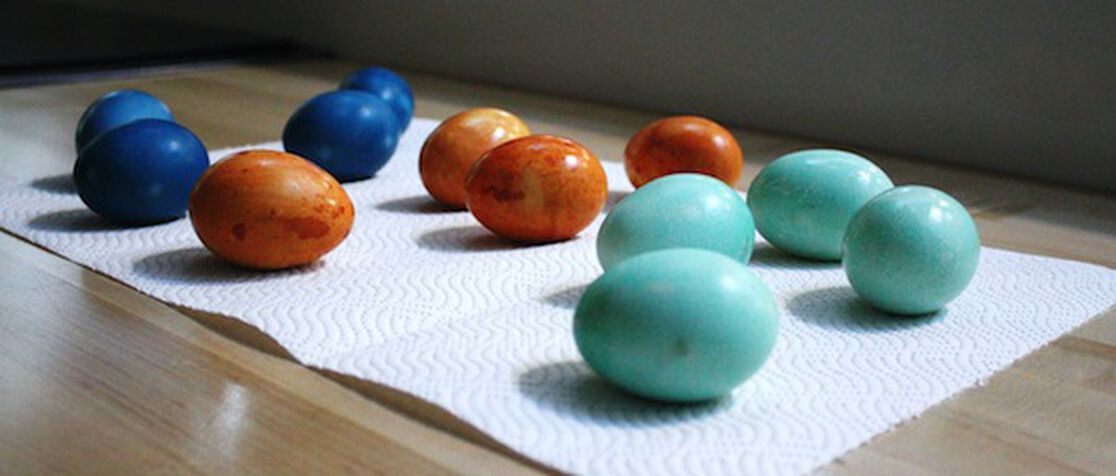
4. After all of your eggs have been removed, set them on a paper towel to dry. Refrigerate your eggs and keep them on hand for a quick and nutritious snack, or arrange them into a naturally festive centerpiece!
Tip: Make sure to compost all of your vegetable scraps!
What do you use to make natural dyes? Share your favorites in the comments below!
We aim to provide you with the most honest and credible information possible. This article was reviewed for accuracy by The Honest Team and was written based on sources that are linked at the bottom of the article.
blog_review_statement